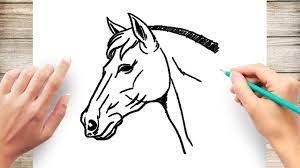
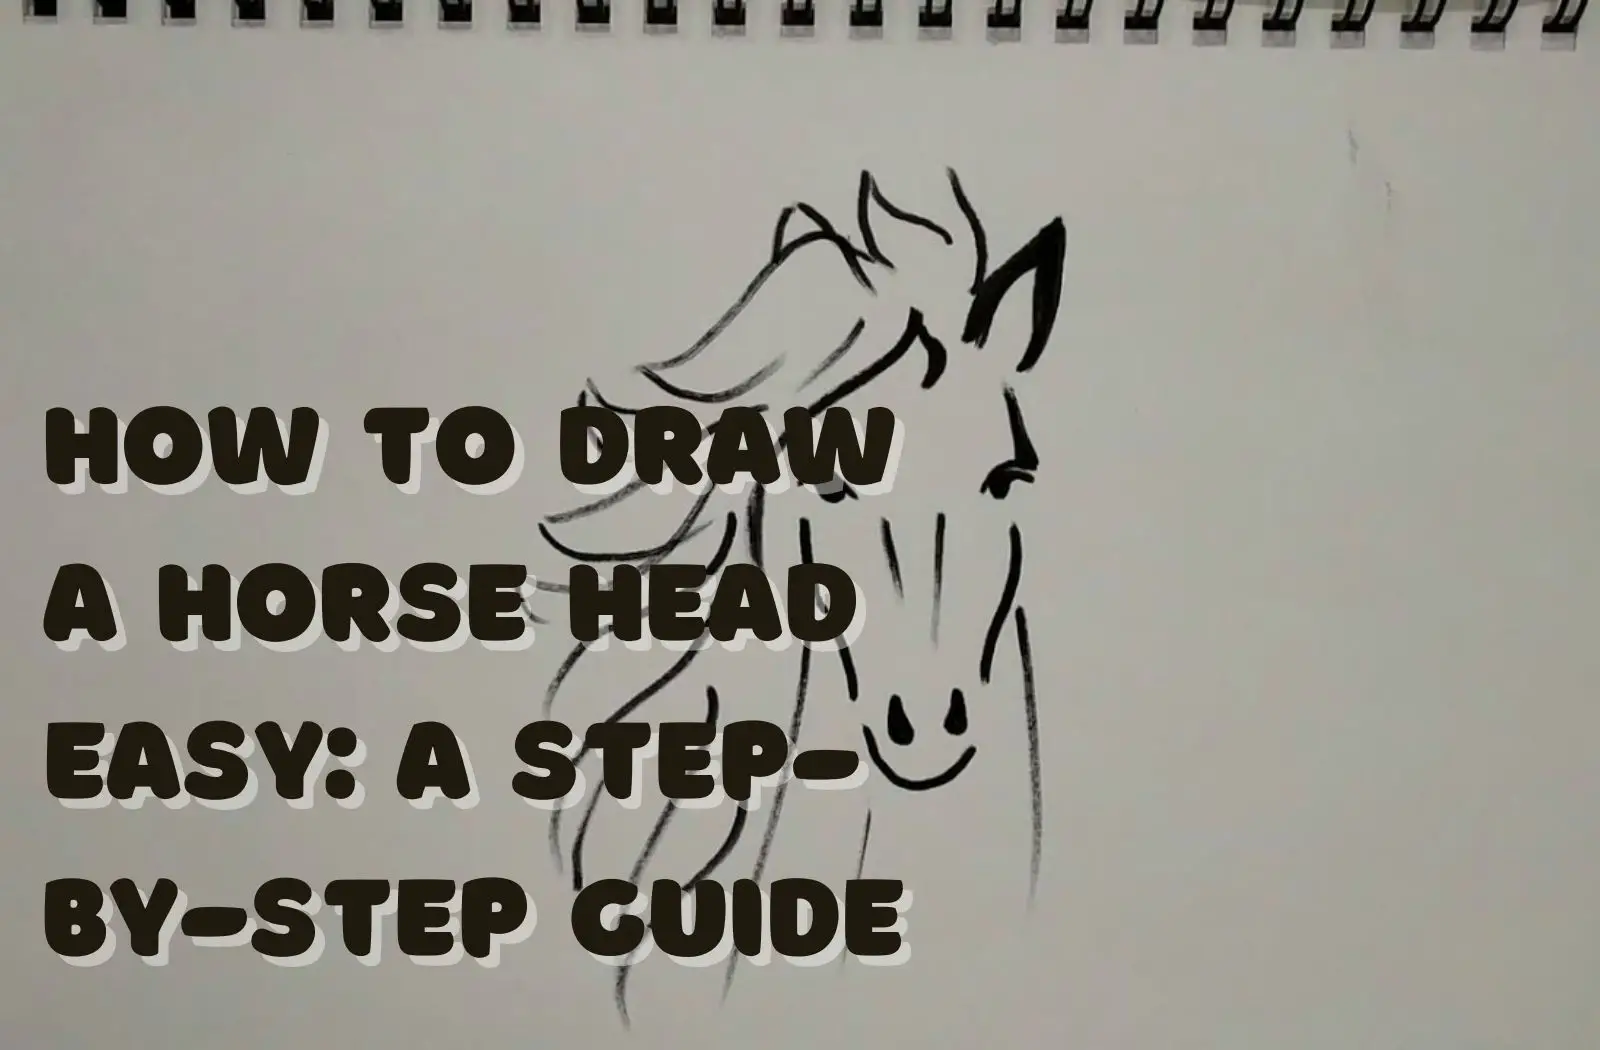
Drawing a horse head can seem challenging, but with the right techniques and practice, you can create a beautiful and realistic representation. This step-by-step guide will walk you through the process of drawing a horse head easily. By starting with basic shapes and gradually adding details, you’ll be able to create an impressive artwork. Let’s get started!
Materials Needed
Before we begin, gather the following materials:
- Pencil
- Eraser
- Paper
Step 1: Constructing the Basic Shapes

To create a solid foundation for your horse head drawing, follow these steps:
- Begin by lightly sketching the head’s proportions using simple guidelines.
- Draw the main oval shape for the head, representing the skull.
- Add a smaller oval at the front for the snout.
Step 2: Outlining the Features
Now, let’s outline the key features of the horse head:
- Draw the ears on top of the head, positioning them based on your guidelines.
- Add the eyes and eyebrows, carefully observing their placement.
- Sketch the nostrils and mouth, ensuring they align with the snout.
Step 3: Refining the Head Shape
In this step, we’ll refine the head shape and make it more recognizable:
- Erase any unnecessary construction lines.
- Strengthen the outline of the head, giving it a smoother appearance.
- Adjust the shape as needed to resemble a horse head more accurately.
Step 4: Adding Details and Texture
Now it’s time to bring your horse head drawing to life by adding details and textures:
- Sketch the mane on top of the head, considering its flow and volume.
- Add a few strands of hair to the forelock, which is between the ears.
- Enhance the eyes, ears, and muzzle using shading and carefully placed lines.
Step 5: Final Touches and Polishing
In the final step, we’ll refine the drawing and make it look polished:
- Erase any remaining guidelines to clean up the artwork.
- Smooth out any rough lines, creating a more refined appearance.
- Refine the details further to achieve a realistic and professional look.
Tips and Tricks
To improve your horse head drawings, keep the following tips in mind:
- Observe real horse head references to understand their unique features.
- Practice drawing horse heads from different angles and perspectives.
- Experiment with various shading techniques to add depth and texture.
Common Mistakes and Troubleshooting
If you encounter difficulties along the way, here are some common mistakes and how to address them:
- Proportion errors: Double-check the guidelines and make adjustments accordingly.
- Misplaced features: Carefully observe reference images and correct any inaccuracies.
- Challenges with shading and textures: Practice shading techniques and study textures found in horse references.
How to Draw a Horse’s Head Easy?
Drawing a horse’s head can be made easy by following these steps:
- Start with Basic Shapes: Begin by drawing a large oval shape for the horse’s head. Then, add a smaller oval shape in front of it for the snout.
- Outline the Features: Sketch the ears on top of the head, taking note of their size and position. Next, draw the eyes, eyebrows, nostrils, and mouth. Pay attention to the placement and proportions.
- Refine the Head Shape: Erase any unnecessary construction lines and refine the outline of the head. Adjust the shape if needed to resemble a horse’s head more accurately.
- Add Details and Texture: Draw the mane on top of the head, considering its flow and direction. Add some strands of hair to the forelock, which is the area between the ears. Enhance the eyes, ears, and muzzle by adding shading and defining lines.
- Final Touches: Erase any remaining guidelines, smoothen out rough lines, and refine the details to give the drawing a polished look.
How to Make a Horse Head?
If you want to create a horse head sculpture or model, follow these steps:
- Gather Materials: Collect clay, sculpting tools, and a reference image of a horse’s head.
- Create the Basic Shape: Start by shaping a large ball of clay into the main oval shape of the horse’s head. Use your hands or tools to mold and refine the shape.
- Add Details: Use smaller pieces of clay to shape the ears, eyes, nostrils, and mouth. Refer to the reference image to ensure accurate placement and proportions.
- Refine and Texture: Smooth out any rough areas and blend the smaller pieces of clay with the main shape. Add texture to the mane and other areas using sculpting tools.
- Allow to Dry or Bake: Depending on the type of clay you’re using, follow the instructions for drying or baking. Once dry, you can paint or seal the sculpture to enhance its appearance.
How to Draw a Horse for Kids?
Drawing a horse for kids can be simplified by following these steps:
- Start with Simple Shapes: Begin by drawing a large oval shape for the horse’s body. Add a smaller oval for the head, and then sketch a curved line for the neck.
- Outline the Body: Connect the head and body with smooth lines. Draw short, straight lines for the legs, and add hooves at the bottom.
- Draw the Face: Sketch two small circles for the eyes, and add curved lines for the ears. Draw a small curve for the mouth.
- Add Mane and Tail: Use quick, wavy lines to create the mane and tail. Add some curved lines on the legs to represent the muscles.
- Finalize Details: Erase any unnecessary lines, and darken the main lines of the horse. You can also add colors to bring your horse drawing to life.
How to Draw an Easy Horse?
Drawing an easy horse can be achieved by following these steps:
- Start with Basic Shapes: Begin by drawing a large oval shape for the horse’s body. Add a smaller oval for the head, and then connect them with a curved line for the neck.
- Outline the Body: Sketch simple shapes for the legs using straight lines, and add hooves at the bottom. Draw a longer curved line for the back.
- Draw the Face: Create two small circles for the eyes and add curved lines for the ears. Draw a small curve for the mouth.
- Add Mane and Tail: Use wavy lines to form the mane and tail of the horse. Add a few lines on the legs to indicate the muscles.
- Finalize Details: Erase any unnecessary lines, and darken the main lines of the horse. You can also add shading or color to give your drawing depth and dimension.
Read: Do Horses Have Eyebrows? The Truth Behind Facial Features in Horses
Read: Can Horses Eat Pineapple? A Comprehensive Guide
Read: What Does “Save a Horse, Ride a Cowboy” Mean?
Read: What Does It Mean to Hamstring a Horse?
Conclusion
Congratulations! You’ve successfully learned how to draw a horse head easily. By following the step-by-step process and incorporating the tips and tricks mentioned, you’ll continue to improve your skills. Remember, practice is key, so keep drawing and experimenting with different styles and techniques. With time and dedication, you’ll create stunning horse head drawings that capture the grace and beauty of these majestic creatures. Happy drawing!

